
9-Day Photography Scotland: A Complete Landscape Photography Tour Itinerary
If you are dreaming of a 9 day photography scotland itinerary that delivers towering mountains, glassy lochs, dramatic coastlines and otherworldly light, you are in the right place. When you choose Personal Tours of Scotland, every detail is tailored to you. Picture yourself on day one chasing reflections on Loch Lomond at sunrise, then over the next nine days standing beneath Buachaille Etive Mor in Glencoe, watching the Jacobite steam train cross the Glenfinnan Viaduct, and climbing the Quiraing for those sculpted volcanic ridges on Skye. This route stitches together Scotland’s most photogenic landscapes with practical rhythms: short dawn shoots, midday scouting, evening golden hour sessions and nightlight opportunities at Eilean Donan Castle and remote lighthouses. Many photographers travel these regions on small-group or private photography workshops; if you prefer a bespoke experience you can arrange a private photography workshop tailored to your camera kit and skill level. For a clear idea of drive times and initial staging, remember that the drive from Glasgow to Loch Lomond takes about 40 minutes by car, making Loch Lomond an effortless first shoot. Over the coming sections I will walk you through each day, the must-shoot spots, camera settings suggestions, travel logistics and how to get the most from a private photography session in Scotland, with linkable routes and practical notes so you can book, pack and go with confidence.
Day 1: Arrival, Orientation and Loch Lomond Sunrise
Start your 9 day photography scotland adventure with an easy arrival day in Glasgow, then move straight into landscape shooting at Loch Lomond. Many itineraries begin with an orientation at around 11:00 am in a Glasgow arrival hotel before heading north, but you can be photographing Loch Lomond at first light because the drive from Glasgow to Loch Lomond takes roughly 40 minutes. Aim to arrive the evening before or plan a very early start, then position yourself at the northern shores near Luss or the less-frequented Inverbeg slipway for mirror-like reflections of the Trossachs. If you prefer a soft, misty mood, a temperature inversion and calm conditions after a cool night often produce low-lying mist over the loch in late spring and autumn; scout boat launch points and the Loch Lomond Shores for compositions that include boats, jetty lines and the distant Arrochar Alps. For practical details on routes and staging points, you can review sample drive times and route planning tips on a helpful regional guide to Loch Lomond and the Trossachs National Park which also explains parking arrangements and seasonal access rules.
Best settings and practical tips for Loch Lomond
For peaceful Loch Lomond dawns I recommend a tripod, a wide-angle lens in the 16mm to 35mm range for sweeping shoreline scenes, and a circular polariser to manage reflections. On the camera set ISO 100 to 200 for clean files, use an aperture around f/8 to f/11 for depth of field and bracket exposures if the sky is brighter than the foreground. If you want long water-silk effects use a 6 to 30 second shutter with an ND filter; be prepared to raise ISO slightly if cloud cover drops exposure below 1 second. Factor in a 40 minute drive time from Glasgow, then allow 30 to 60 minutes for scouting before golden hour so you can pick the best jetty, boathouse or rock foreground for your composition. If you are arriving by train or need local guidance, many photographers book an orientation and local pickup to ensure gear and timing are optimised for the first morning.

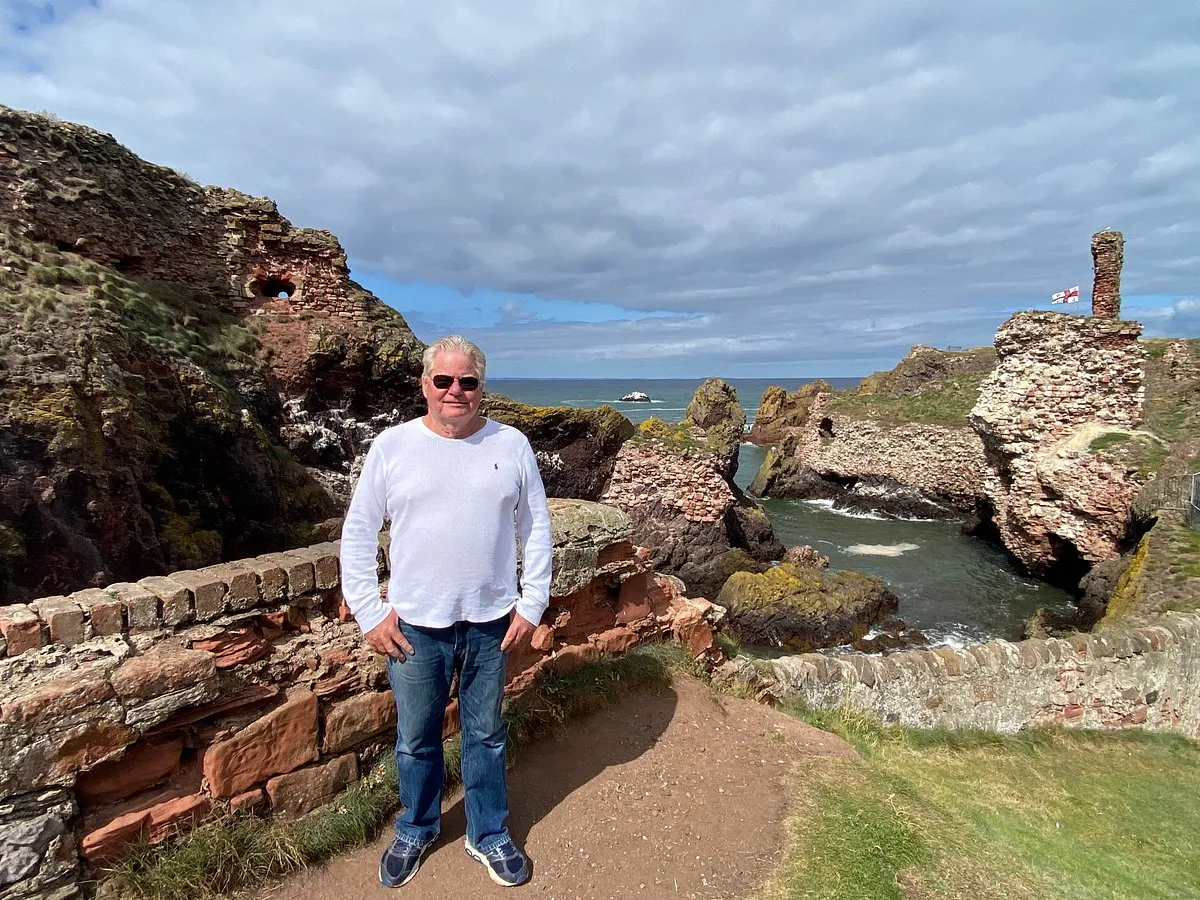
Our experience with Personal Scotland and Brian was outstanding. Brian is exceptionally knowledgeable about Scotland’s history and culture, and his gift for storytelling made every stop along our journey both engaging and memorable.
Alexander M, TripAdvisor
Day 2: Glencoe, Rannoch Moor and Etive Mor
Day two takes you into the wild heart of the Highlands for classic Glencoe scenes: vast valleys, serrated ridgelines and the eerie expanse of Rannoch Moor. Allocate three nights in the Glencoe area if you can, because three nights near Glencoe and three days on the Isle of Skye is a common allocation on 9-day routes for photography. On arrival aim to capture late afternoon light on the valley sides, then head to well-known viewpoints such as the A82 pull-offs overlooking the Three Sisters and Rannoch Moor for wide panoramic frames. If you are chasing dramatic waterfall compositions add a hike to the Etive Mor Falls with Buachaille Etive Mor as a towering backdrop, a location that served as a cinematic film location; aim for the falls at golden hour or dusk when the contrast is softer. Rannoch Moor’s vast, low-lying peatland makes a brilliant location for fading light and brooding cloudscapes late in the day; if you have a 4×4 option consider turning off at Glencoe village to access quieter tracks and lochans for intimate foregrounds.
Scouting and safety in Glencoe and Rannoch Moor
Glencoe weather can change quickly; always carry waterproofs, spare batteries and a map or GPS device because cloud can descend fast on the ridges. For compositions that show scale use a telephoto lens between 70mm and 200mm to compress the Three Sisters against the moor, or a 24mm for dramatic foreground-leading lines. Rannoch Moor is boggy in places; bring waterproof boots and aim your hike to lochans and peat pools which make excellent foreground reflections. If you are working with a private photography workshop or guide, plan shooting windows around dawn and dusk and use middle-of-day hours for driving and scouting so you reach the best vantage points for light and weather during golden hour.
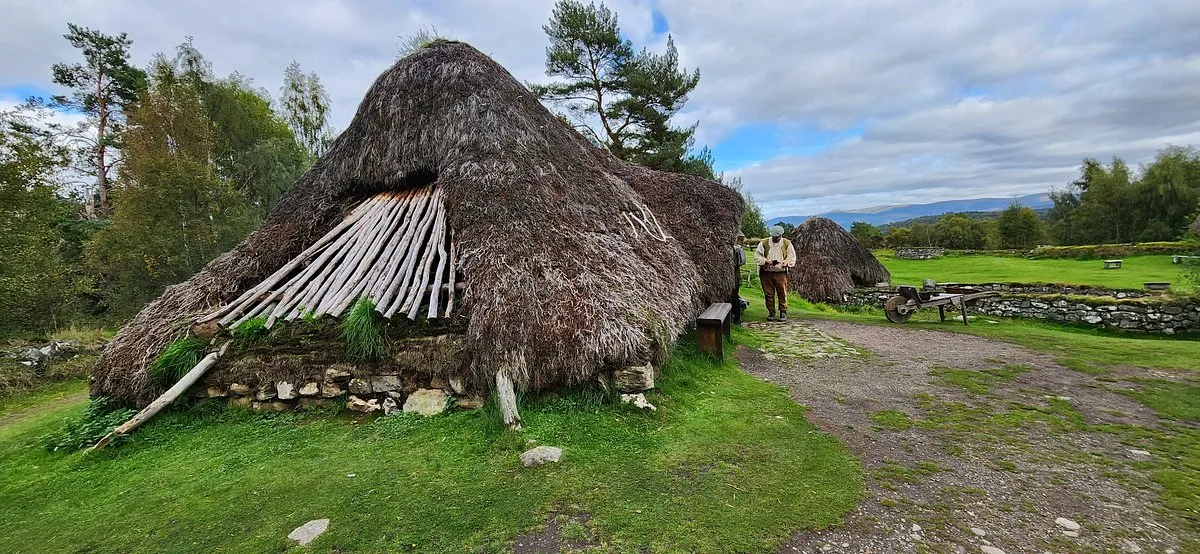
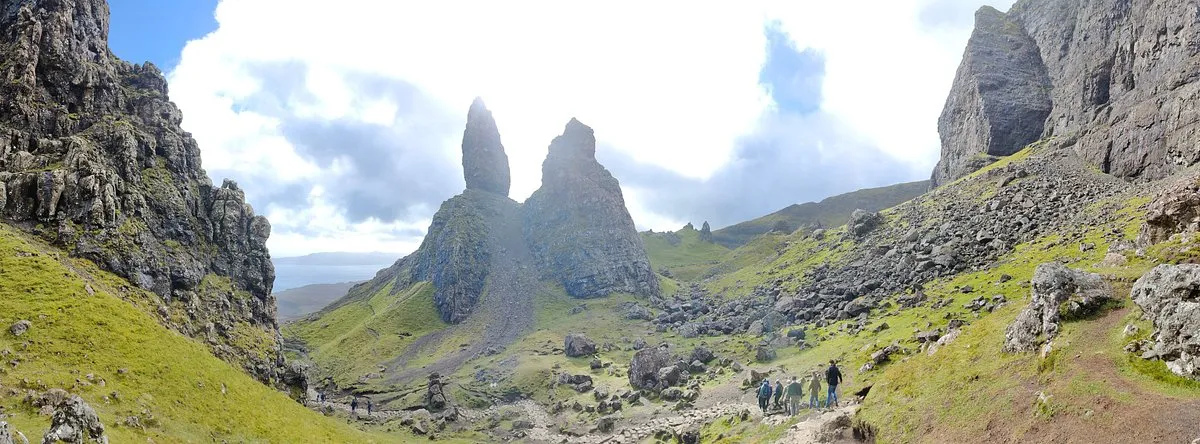
Reserve early mornings and late evenings for location shoots like Loch Lomond, Quiraing and Neist Point; use daylight hours for scouting, transfer and post-processing review.
Day 3: Glenfinnan Viaduct, Road to the Isles and Neptune’s Staircase
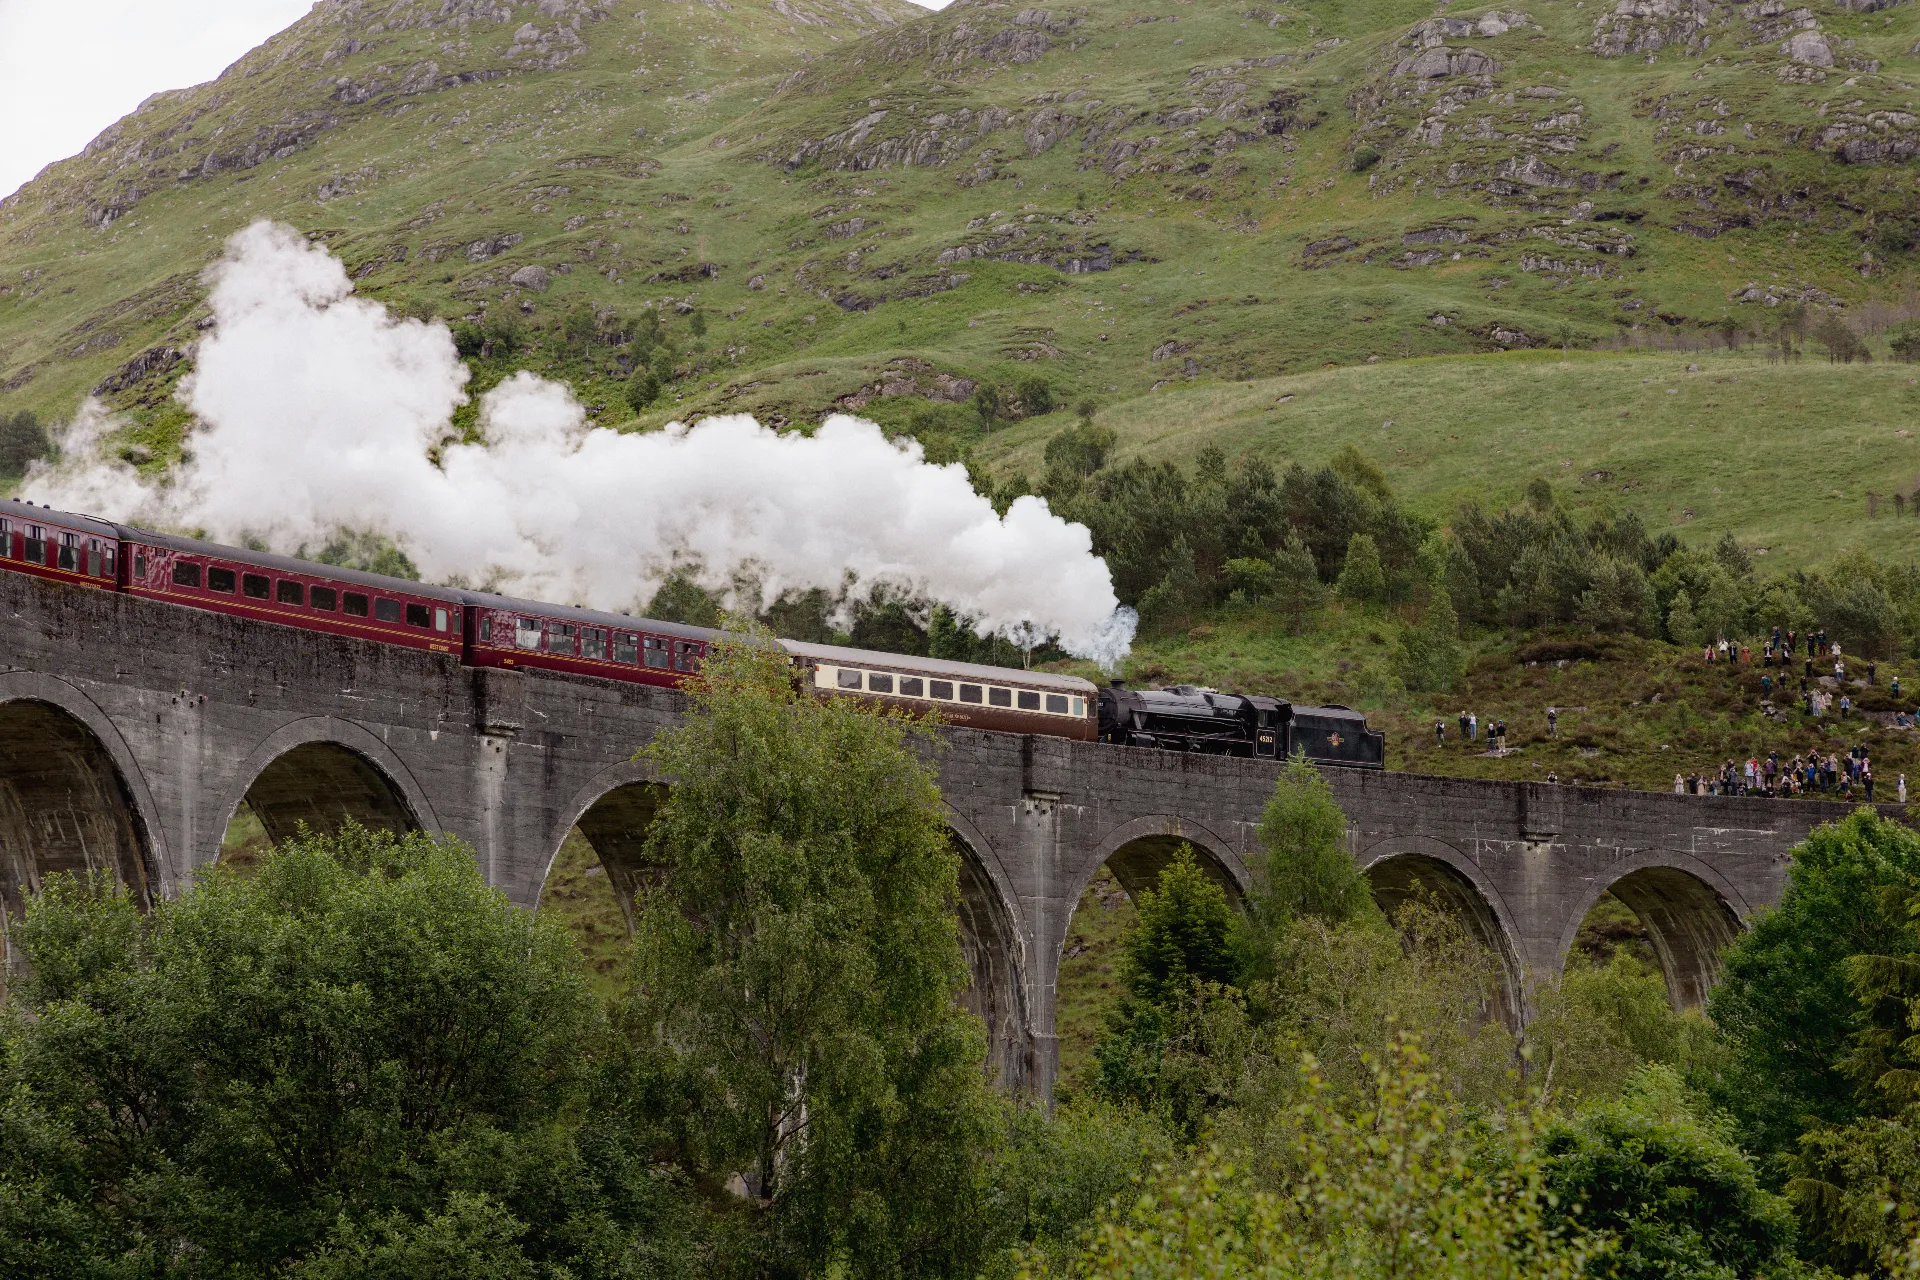
On day three you will capture one of Scotland’s most cinematic shots, the Glenfinnan Viaduct, then travel along the Road to the Isles toward the Isle of Skye. The Jacobite steam train crossing the iconic Glenfinnan Viaduct offers one of the most spectacular railway views in the world, timed for classic mid-morning or late afternoon light depending on the season; check train timetables well in advance if you want the steam train in frame. After Glenfinnan you will drive along the Road to the Isles where Neptune’s Staircase provides a striking canal lock sequence and views towards the Small Isles of Eigg and Rhum; this road is ideal for stopping frequently as the coastline and mountain backdrops change every few miles. Typical 9-day routes follow a sequence that includes Glenfinnan and the Road to the Isles en route to Skye, with an overnight near Fort William or South Skye the night before the crossing.
Timing the Jacobite steam train and viaduct shoot
To photograph the Jacobite steam train crossing the viaduct you must coordinate with timetables and arrive at least 60 minutes before the scheduled pass to secure a good viewpoint and set up. Use a 24mm to 100mm zoom to vary compositions; the wider end gives sweeping viaduct-in-landscape images while the telephoto compresses the train against the mountains. If you miss the steam service you can still produce excellent frames with moody weather and long exposures; consider using an ND filter and polariser combo to manage reflections in Loch Shiel and pull foreground interest into the composition. For route planning and coastal vantage points along the Road to the Isles consult this overview of the Road to the Isles with practical stopping points and ferry details.

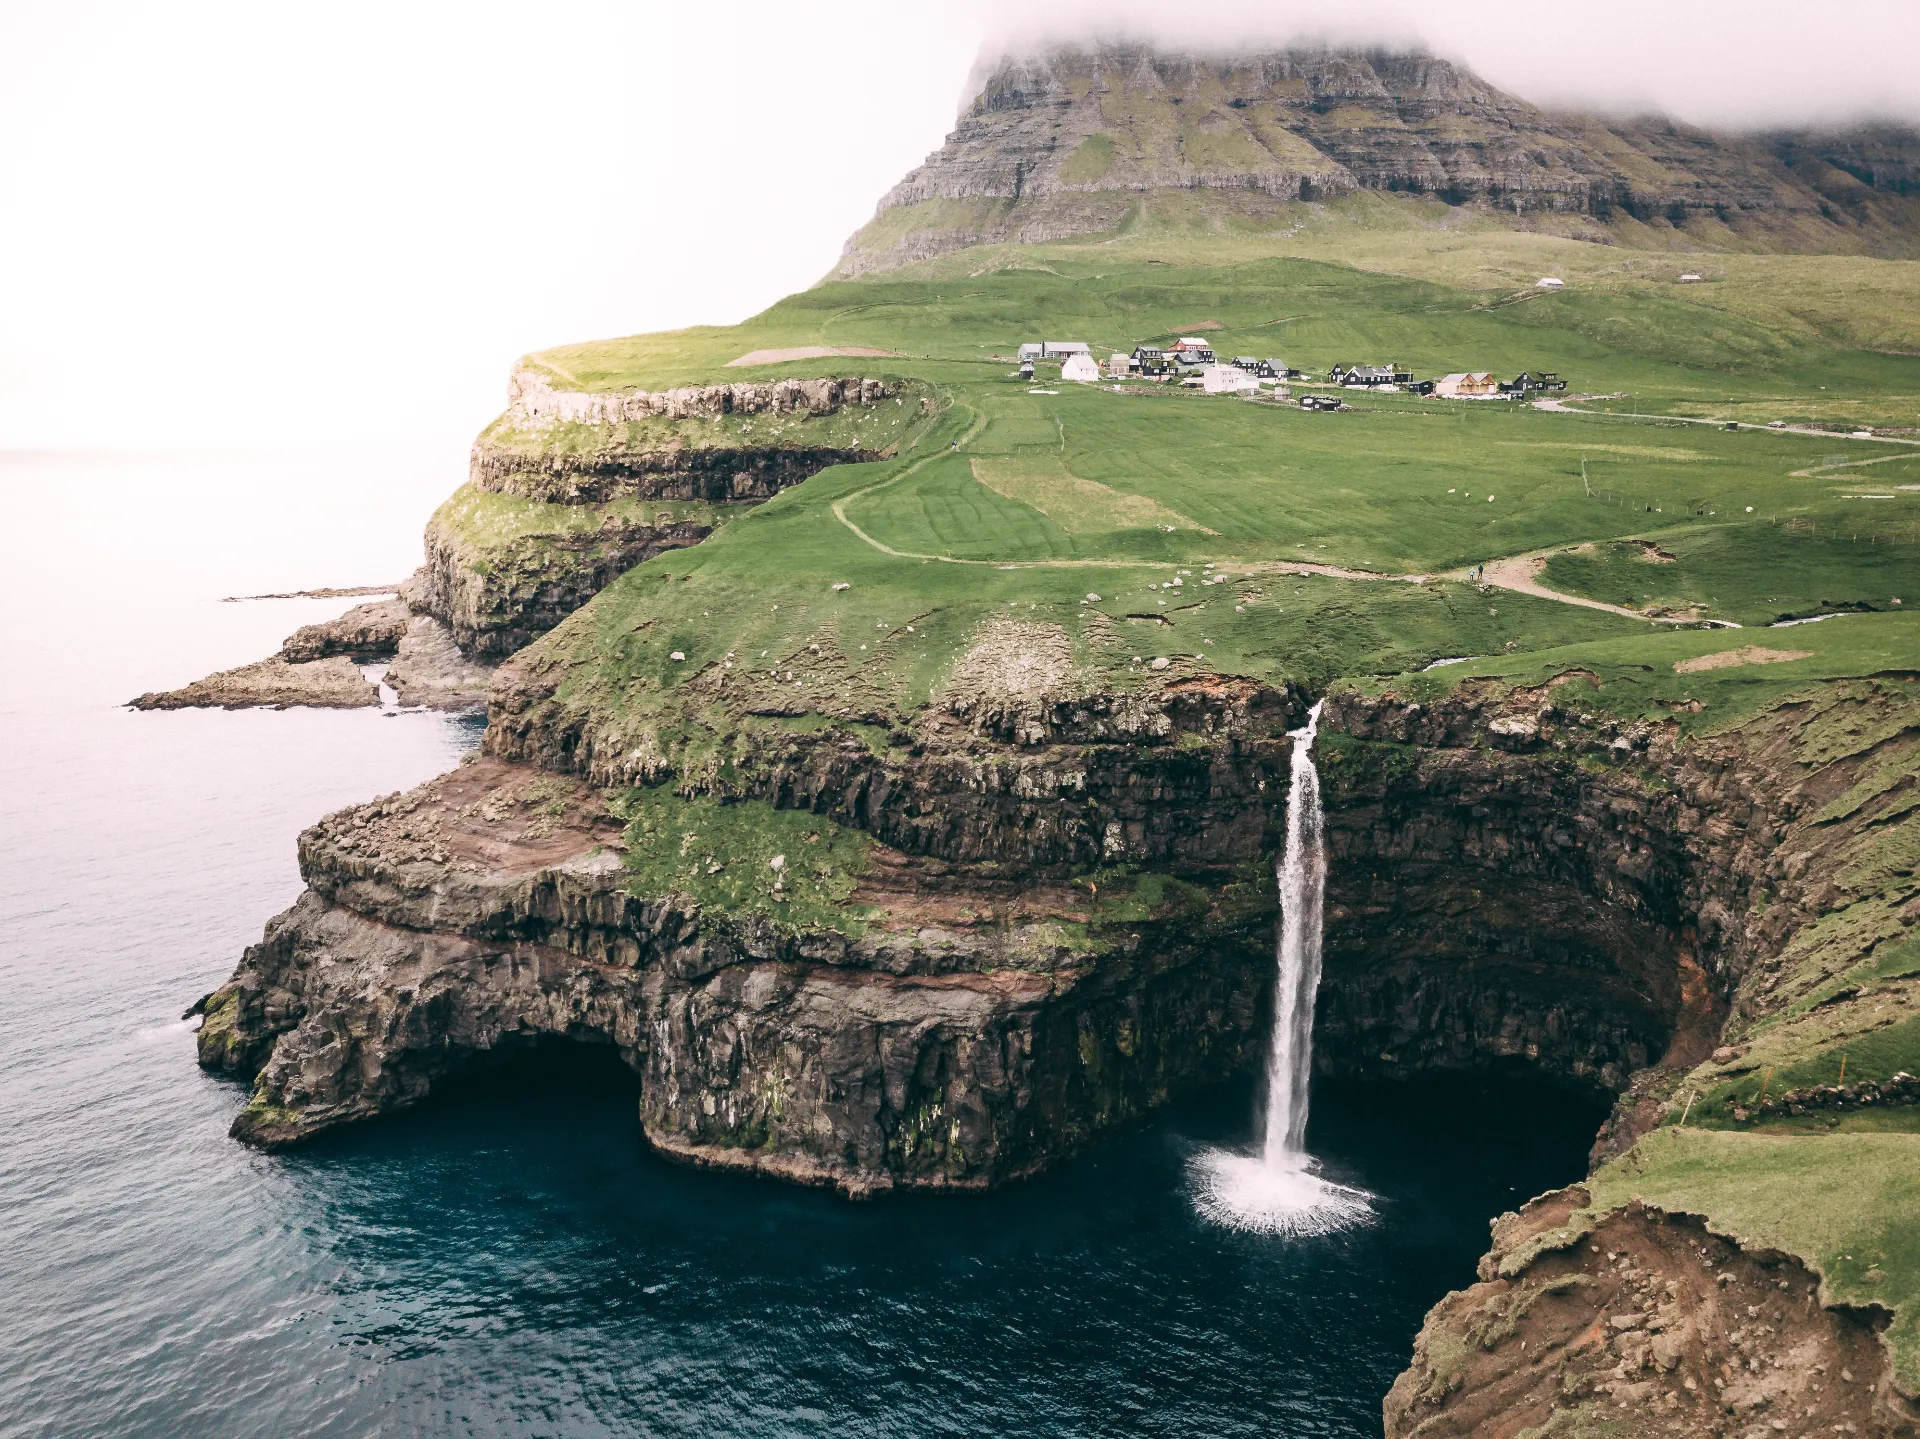
We booked four nights and five days with a private guide and fully enjoyed our time. Brian’s team handled almost everything for us, including booking our accommodations, admission to many sites, ferry fees, etc. All the logistics of the trip were handled professionally and without error.
Mark H, TripAdvisor
Day 4: Eilean Donan Castle at Dusk and Skye Arrival
Cross into Skye with a twilight stop at Eilean Donan Castle, one of the most photographed castles in Scotland thanks to its handsome setting where three sea lochs meet. The castle sits on Loch Alsh and is beautifully illuminated at dusk and after dark; for night shots bring a sturdy tripod and aim for exposures between 10 and 30 seconds depending on ambient light. Eilean Donan featured in films such as Braveheart and other high-profile productions, which means you can create cinematic frames even on a quiet evening. From Eilean Donan continue toward Kyle of Lochalsh and the Skye ferry or, if you prefer road access, follow the Skye Bridge route; both options deliver you to Skye for an overnight that positions you to capture sunrise on the island. If you would like to study composition and night-light techniques, a private photography workshop is ideal for an evening session at Eilean Donan.
Night photography tips at Eilean Donan
When photographing Eilean Donan at night use a low ISO setting to minimise noise, a wide aperture like f/4 to f/5.6 to control starburst from lights, and a remote release to avoid camera shake. Compose to include reflections in the loch if the water is calm; on windy nights look for wet rocks or shorelines for texture in the foreground. If you are in a private group, schedule an after-dinner shoot and allow time for manual focus practice and exposure bracketing to create HDR blends if required. Check the castle opening hours and any visitor restrictions if you plan daytime or close-quarters shots; evening shoreline access is usually unrestricted for photography from public viewpoints.


Bring waterproofs, two storage backups and spare batteries; Scotland’s cold and wet conditions can quickly affect gear and battery life.
Day 5: Quiraing and Old Man of Storr on the Isle of Skye
Skye delivers a day of geological drama with the Quiraing landslip and the volcanic pinnacle of the Old Man of Storr. The Quiraing’s rocky waterfalls and sculpted ridges form extraordinary foregrounds and midground shapes for sunrise and sunset, while the Old Man of Storr rising above the northern Trotternish Ridge is one of Scotland’s most recognisable rock formations. Plan at least one full day on Skye dedicated to early starts and late finishes because locations like the Quiraing benefit from low-angled light and ephemeral cloud inversions. The Quiraing is accessible by a short but steep climb from a roadside car park; the Old Man of Storr is a firmer hike requiring roughly 45 minutes to the main viewpoint from the car park, depending on fitness and conditions. Many 9 day photography scotland tours allocate three days to Skye so you can methodically work the island’s highlights across different light conditions.
Compositional approaches on Trotternish Ridge
When composing on the Trotternish Ridge, look for leading ridgelines, layered terraces and pockets of foreground heather or rocks to anchor scale; a 24mm to 70mm zoom covers most needs. For the Old Man of Storr aim to include foreground boulders or grass terraces that lead the eye up to the pinnacle; a polariser helps saturate the greens and deepen sky contrast. On days with fast-moving cloud use faster shutter speeds around 1/200 to 1/500 to freeze cloud texture, then try slower exposures with a neutral density filter for silky cloud movement if you have a tripod. Always leave extra time for the descent because the paths can be rough and muddy after rain.

Day 6: Fairy Pools, Kilt Rock and Neist Point Lighthouse
Day six is dedicated to coastal and freshwater contrasts: the turquoise Fairy Pools, the basalt columns and waterfall at Kilt Rock, and the remote drama of Neist Point Lighthouse. The Fairy Pools on the River Brittle offer astonishingly clear, blue-green cascades and plunge pools; for silky water effects use shutter speeds between 0.5 and 2.5 seconds and a polariser to manage reflections while preserving colour. Kilt Rock combines vertical basalt columns and a waterfall that drops to the sea, a composition that works well with telephoto compression in the 100mm to 300mm range. Finish the day at Neist Point Lighthouse on Skye’s western headland where cliffs tumble into the Atlantic, creating long coastal lines and dynamic sea-spray opportunities; allow at least 45 minutes to walk the headland from the car park and check tide times if you plan foreground rock work. Neist Point yields dramatic sunset and twilight shots but be mindful of narrow paths and strong winds when setting up tripods on cliff edges.
Practical notes for coastal and waterfall shoots
For the Fairy Pools bring waterproof gaiters and quick-drying footwear; some of the best foregrounds require short, careful rock-hopping. For Kilt Rock and Neist Point use graduated ND filters or exposure bracketing to balance bright skies with darker cliffs and waterfalls. If you are participating in a private photography workshop, plan a mid-afternoon scouting session followed by sunset at Neist Point so you can compare compositions and refine camera settings before the crucial light. Always carry a lens cloth and protectors because sea spray and waterfall mist are unavoidable on wet days.
High season rooms on Skye and in Glencoe fill quickly; secure lodging well in advance to avoid long drives between key shoots.
Day 7: More of Skye, Return via Castle Stops and Culloden Battlefield
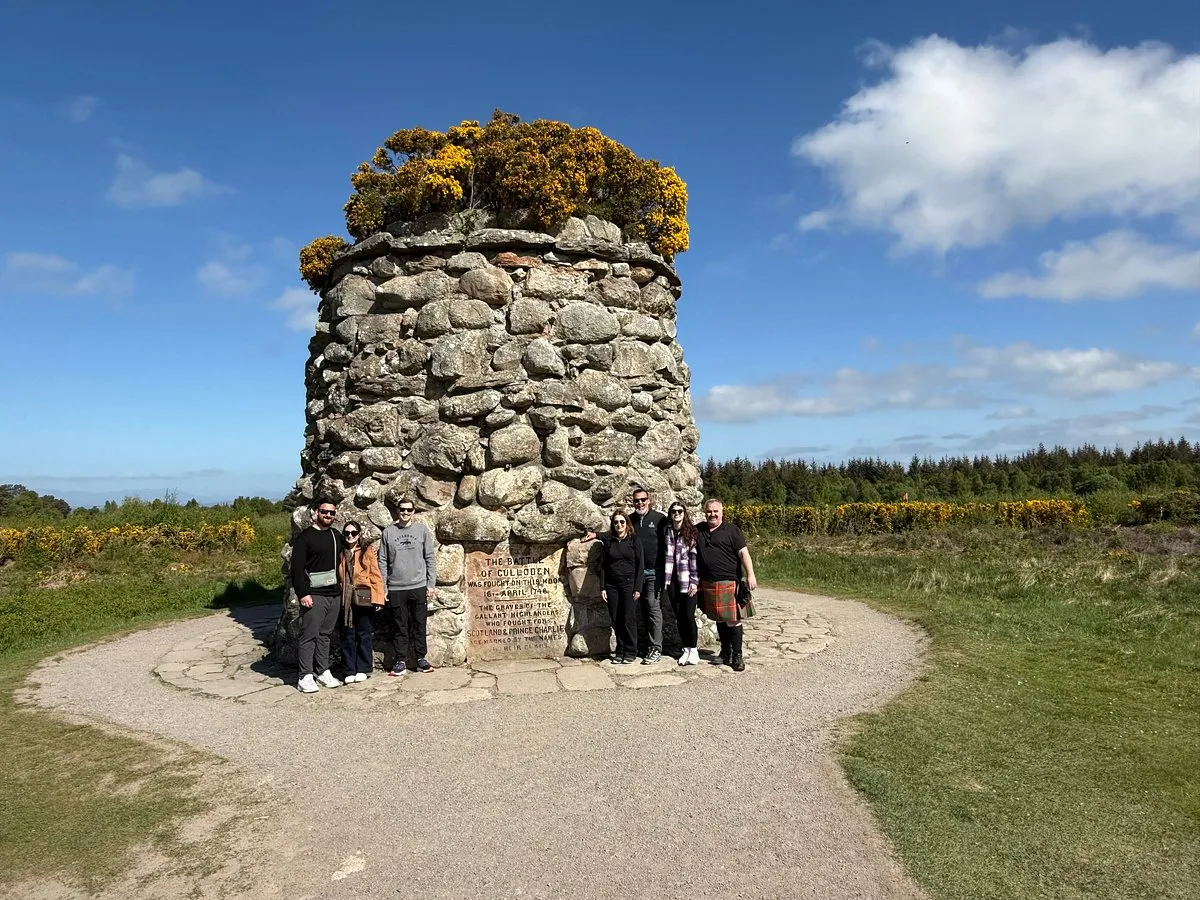
Day seven gives you flexibility: return to any Skye location you want to refine, or begin the drive back to the mainland with stops at landmark sites such as Eilean Donan and Culloden Battlefield near Inverness. Culloden offers powerful historical photography opportunities tied to the 1746 clash; photograph the battlefield’s moorland, memorial cairns and interpretive centre exteriors as part of a contemplative mid-afternoon sequence. If you choose to leave Skye in the morning, plan a late afternoon arrival toward Culloden or nearby Inverness to capture the longer shadows and softer light that reveal the battlefield’s ridges and peat soil textures. Roads between Skye and Inverness often include scenic detours and short hikes; allow extra time for stops because you may discover unadvertised lochans, ruined crofts and solitary stone walls that make superb intimate landscape frames.
Historical context and photographic approach at Culloden
When photographing Culloden Battlefield, balance wide contextual frames that show the battlefield’s sweep with tighter shots of memorial stones and the visitor centre’s architecture if it suits your narrative. Use a polariser sparingly because moody skies can be more evocative, and consider black and white conversions for austere, documentary-style images. If you work with a guide who is knowledgeable in Scottish history, they will enrich your frames with context about Jacobite soldiers and the landscape’s role in the battle; combining imagery and story often produces the most memorable portfolio pieces.
Day 8: Cairngorms National Park and Loch an Eilein
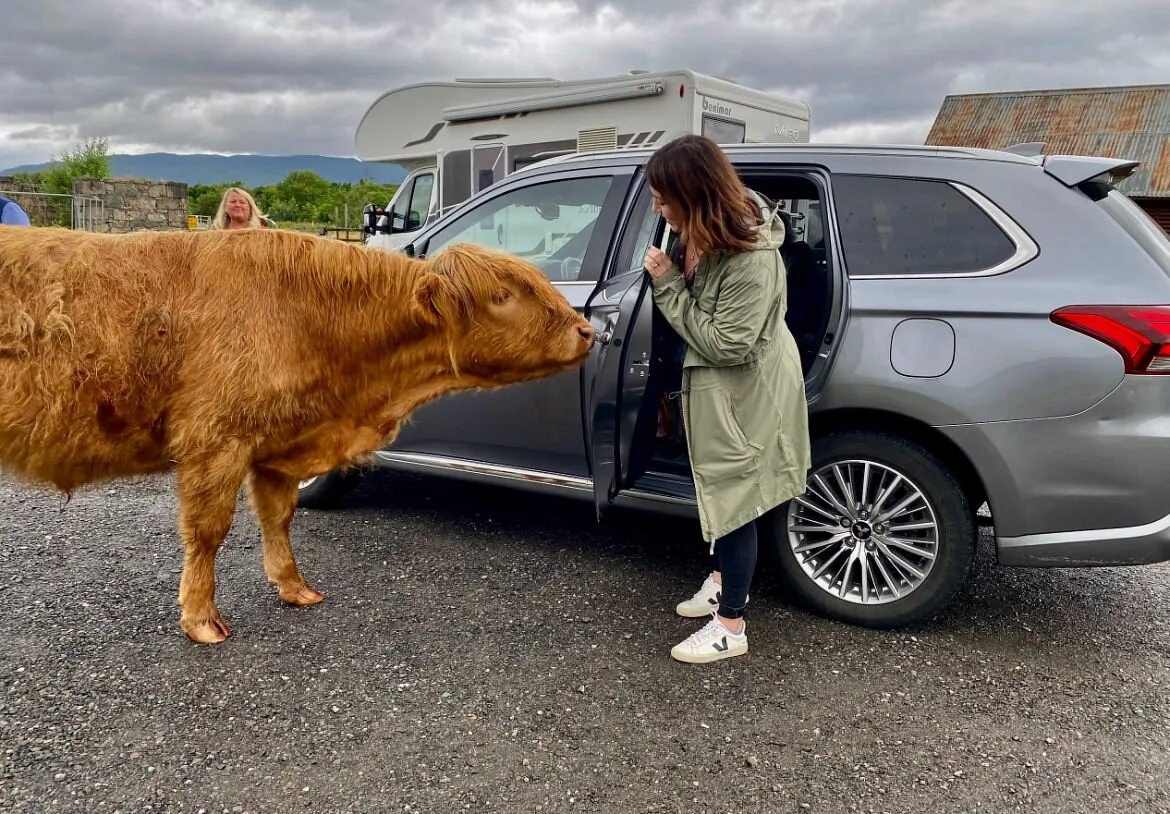
Day eight takes you into the Cairngorms National Park, a place of soaring ranges, Caledonian pine forest and lochs with ruined island castles, including the picture-perfect Loch an Eilein. Loch an Eilein’s crumbling castle sits on a small island amid dark water and pine reflections; arrive before sunrise to capture still-water reflections, mist clinging to the pines and potential golden-hour colour on the mountain slopes. The Cairngorms offer wildlife possibilities too, including golden eagles and red deer if you are patient and remain quietly positioned at dawn and dusk. Trails around Loch an Eilein are well signposted and allow a circular 2 to 3 kilometre walk, making staging convenient for photographers carrying moderate kit. If you plan an extended stay or want to include wildlife photography, consider allocating additional time in Highland Perthshire’s Pullar House area or reserving guided wildlife tracking on specified dates.
Camera approaches and wildlife considerations in the Cairngorms
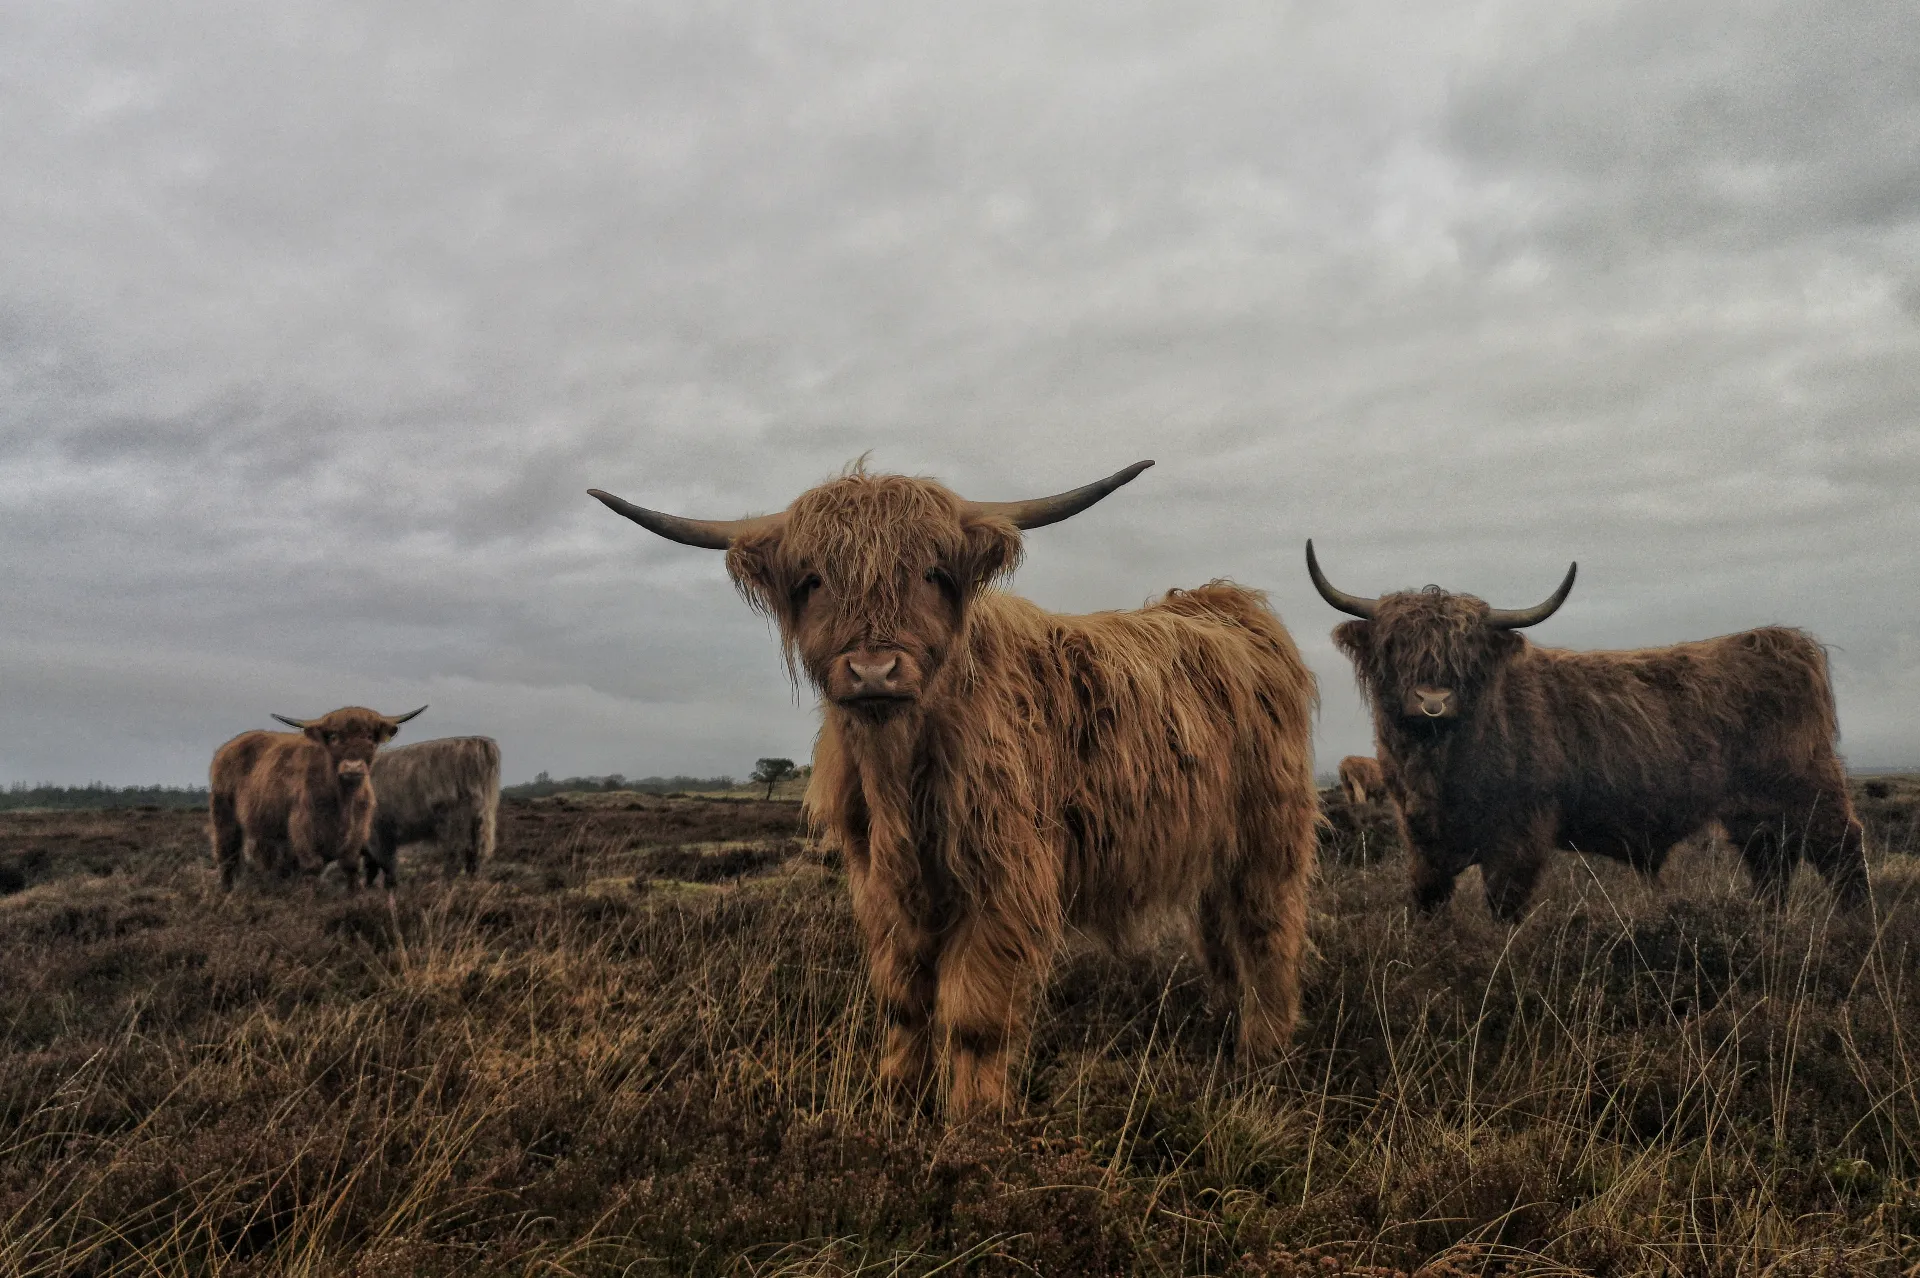
For loch and forest scenes try a mid-range zoom like 24mm to 105mm and a telephoto up to 400mm for eagles or distant deer. Dawn and twilight are best for wildlife activity; use shutter speeds above 1/500 for flying birds and a monopod for stability on long lenses. Respect wildlife distances and follow local ranger guidance; many golden eagle sightings occur in remote parts of the park so plan a guided wildlife session if you want higher chances of seeing raptors. For forest compositions, look for patterns of light through the Caledonian pines and use a narrow aperture like f/11 to keep the trees in focus from front to back.
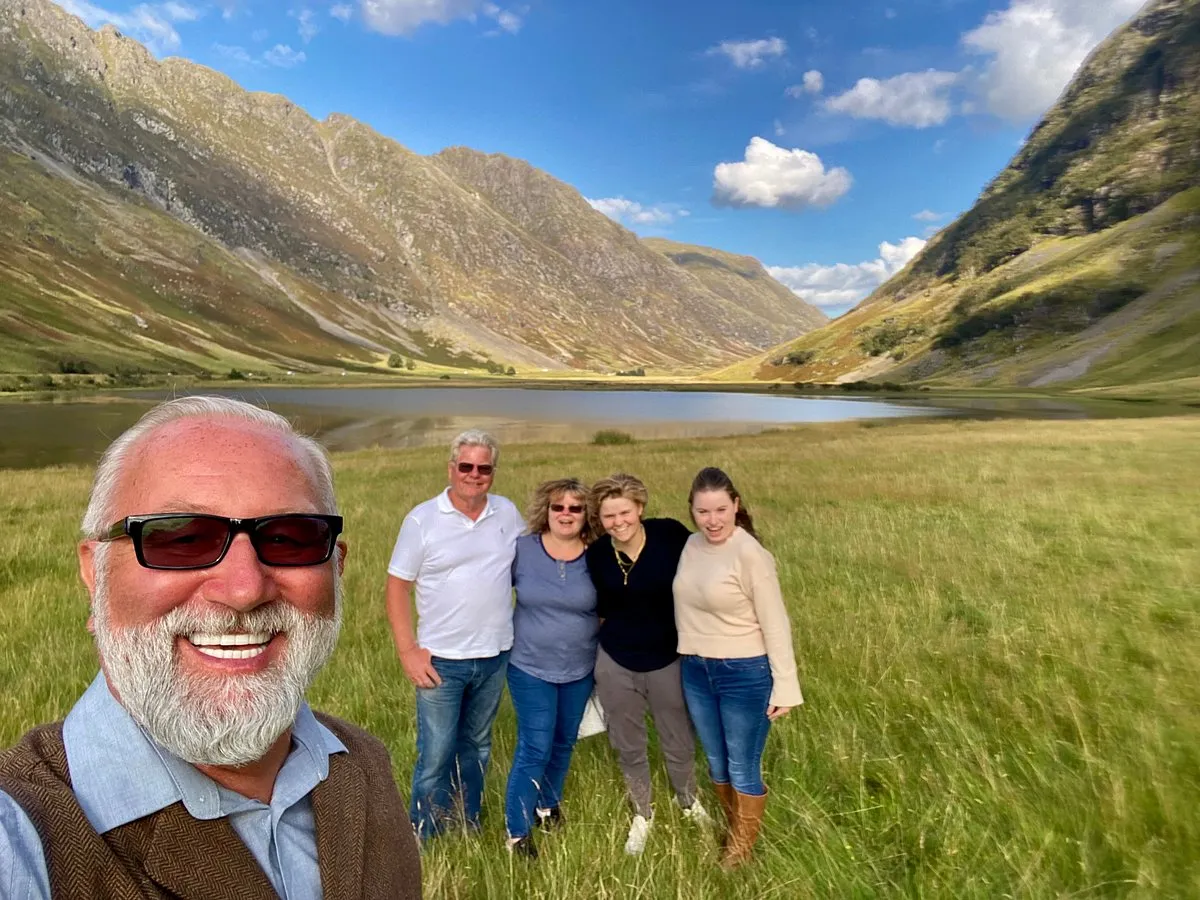
A private photography workshop lets you tailor shooting windows and tuition, ideal if you want objective-specific coaching and flexible timing.
Day 9: Pitlochry, Whisky Distilleries and Return to Base
On your final day combine scenic rural Perthshire with a touch of Scotland’s whisky culture, photographing riverside scenes around Pitlochry and touring a local distillery for atmospheric interior and exterior shots. Pitlochry sits in Highland Perthshire and offers attractive river cascades, Victorian architecture and access to several distilleries where stills, oak casks and malt kilns provide rich visual textures; interior shots at a distillery often require permission and sometimes additional fees, so arrange visits in advance. If you are returning to Edinburgh or Glasgow on day nine, the drive times are approximately two hours from Pitlochry to Edinburgh and around two hours to Glasgow, depending on traffic and stops. Consider ending your tour with an afternoon whisky tasting and a relaxed riverbank shoot at the Stanley or Tummel rivers to close the 9 day photography scotland loop on a reflective, personal note.
Photographing distilleries and getting permissions
Distilleries vary in lighting and space; many welcome photographers with prior notice, and some offer specialised tours for small groups. For interiors use a fast prime like 35mm or 50mm at f/1.8 to f/2.8 if light is limited, and a wide-angle for cramped mash-tun rooms. Bring a spare battery and small LED panel or flash if the tour permits additional light. If you plan a private photography workshop, ask your guide to handle bookings and permissions as many tour operators coordinate distillery access as part of the itinerary.
Planning, Logistics and Typical Pricing for a 9 day photography scotland Tour
Organising a 9 day photography scotland itinerary requires balancing drive times, accommodation and shooting windows. A commonly noted model for Scotland photo tours is 10 days/9 nights, with many operators limiting groups to a maximum of 8 guests to preserve shooting flexibility; this same model helps you understand how a nine-day rhythm fits into local travel patterns. If you prefer bespoke arrangements, private tours often include hotel bookings, ferry fees and entry logistics handled for you; for example, sample workshop pricing for a 10 days/9 nights itinerary has appeared at approximately $5850 per person, with single supplements sometimes around $1200 on some published programs, which gives you a frame for budgeting. When planning your route use reliable route planning pages that show the Road to the Isles and expected stopping points, and always check seasonal ferry schedules to Skye if you are crossing via ferry rather than the Skye Bridge. Book accommodations early if you travel in high season from May through September because the Highlands and Skye can have limited rooms in small villages.
Group size, start times and orientation
Many photo tours start with an orientation scheduled mid-morning on arrival day; this gives you time to settle and attend a gear-check before the first shoot. Small group workshops often cap participants at 6 to 8 photographers to maximise personalised feedback and shooting flexibility; if you prefer one-to-one tuition select a private photography workshop which typically allows full tailoring of locations and instructional focus. For drive distances, plan an average of 1.5 to 3 hours between major shoots on Skye and the Highlands, and longer legs when crossing between regions. Use a local guide for weather-dependent decisions and ferry coordination; they will also manage parking, permits and timing for specific light windows.
Choosing a Private Photography Workshop or Guided Tour
Deciding between a small-group workshop and a private photography workshop hinges on tuition focus, flexibility and budget. Private workshops give you one-to-one coaching, flexible timing for dawn and dusk, and the chance to shape the itinerary around your goals; many photographers choose private guidance for landscape-specific techniques and portfolio-building. Small-group tours deliver camaraderie and the benefit of shared transportation costs, but they require compromise on exact shooting times and composition targets. If you value bespoke instruction and want to spend three nights near Glencoe plus three days on Skye as part of a concentrated landscape photo program, a private option is ideal because it lets you re-visit a location until you capture the light and conditions you want. For workshop vendors and itinerary examples you can review specialised Scotland photo workshop itineraries which show how operators structure shoots and tuition across similar nine-day routes.
What to expect from an instructor-led session
A professional instructor will offer on-location composition critique, live histogram review, exposure bracketing workflow, and post-processing advice tailored to your shooting style. Expect hands-on demonstrations of graduated ND use, long exposures for waterfalls and coasts, and night-light techniques for castles and lighthouses. If you want print-ready images bring a calibrated workflow in your laptop or storage solution and discuss RAW versus in-camera JPEG policies with your instructor ahead of time. Private sessions often include a mix of classroom-style briefings and practical, on-site shooting with immediate feedback.


Essential Gear List and Camera Settings for the 9 Day Photography Scotland Tour
Pack thoughtfully for a 9 day photography scotland tour: a sturdy tripod, two camera bodies if available, a 16mm to 35mm wide-angle, a 24mm to 70mm mid-range zoom, a 70mm to 200mm telephoto and a 100mm to 400mm for distant wildlife. Include circular polariser, 3-stop and 6-stop neutral density filters, spare batteries (cold weather reduces battery life), cleaning cloths and a rain cover for your kit. For night and castle illumination shots bring a remote release and a headlamp for safe navigation on uneven ground. Typical camera settings to start with are ISO 100 to 200, aperture f/8 to f/11 for landscapes, and bracketed exposures for high dynamic range scenes; for silky waterfall effects try shutter speeds between 0.5 and 8 seconds depending on flow and desired effect. If you plan workshop-based editing, bring a calibrated laptop with Lightroom or Capture One and backup drives so you can secure RAW files nightly.
Weatherproofing, clothing and footwear
Scotland’s weather is famously changeable; wear a breathable waterproof jacket, insulated mid-layer, hat and gloves for early mornings, and quick-drying trousers. Waterproof hiking boots with ankle support are essential for boggy moorland and coastal rock hopping. Use dry sacks or padded camera backpacks to keep electronics safe during sudden rain, and consider lightweight crampons if you plan high-elevation shoots in late autumn or early spring. Always carry a printed route plan and physical map as a backup to phone navigation in remote areas.

Editing Workflow, Deliverables and Post-Workshop Options
After a 9 day photography scotland tour you will return with hundreds to thousands of RAW files; a consistent editing workflow speeds selection and processing. Begin by culling images to a manageable set using rating stars or colour flags, then perform global adjustments in exposure and white balance before tackling local contrast and sharpening. If you attended a private photography workshop many instructors offer post-tour editing sessions or critique reviews, which are useful for turning strong captures into a cohesive portfolio. For prints consider a professional lab that handles large-format Giclée prints; for clients who want a lasting memory, booking a follow-up one-to-one editing session within 30 days helps finalise images while memories are fresh. Back up everything nightly during the trip using at least two independent storage devices and a cloud option where connectivity permits.
Sustainability and Respectful Photography in Fragile Landscapes
Photographing Scotland’s iconic sites carries a responsibility to protect fragile landscapes and local communities. Stay on established paths around delicate peatlands such as Rannoch Moor, avoid trampling vegetation around loch shores and use designated parking areas to reduce roadside erosion. At coastal headlands and cliff edges such as Neist Point, maintain a safe distance from cliff edges and be aware of bird nesting seasons which may restrict access. If you hire a local guide or join a private photography workshop they often brief groups on Leave No Trace practices and local bylaws; follow these guidelines and be mindful of residents in small villages when shooting at dusk or dawn. Sustainable travel also means choosing locally run accommodations and eateries where possible to support rural economies across Skye, Glencoe and Perthshire.
Suggested Night Allocation for a 9 Day Photography Scotland Tour
| Region | Nights | Highlights |
|---|---|---|
| Loch Lomond / Trossachs | 1 | Sunrise reflections, short drive (40 minutes) from Glasgow |
| Glencoe / Rannoch Moor | 3 | Dramatic valleys, Buachaille Etive Mor, Etive Mor Falls |
| Isle of Skye (Trotternish & West) | 3 | Quiraing, Old Man of Storr, Fairy Pools, Neist Point, Kilt Rock |
| Cairngorms / Loch an Eilein | 1 | Caledonian pine forests, Loch an Eilein ruined island castle |
| Pitlochry / Return | 1 | Riverside scenes and distillery visits in Highland Perthshire |
Frequently Asked Questions
When is the best time of year for a 9 day photography scotland tour?
Late spring through early autumn, from May to September, offers long daylight hours, more stable weather windows and peak colour in moorland and coastal vegetation. May and June deliver lush greens and extended golden-hour opportunities with earlier sunrises and later sunsets ideal for dawn and dusk shoots. September brings richer autumnal colours and clearer air for long-distance views, plus reduced midges in many locations. Winter delivers dramatic light and snow but requires extra experience and winter equipment; consider guided options if visiting between November and March because road closures and shorter daylight windows change logistics.
Can I join a 9 day photography scotland tour as a solo traveller?
Yes, many photographers travel alone and join small-group workshops or book private guidance; small-group workshops typically cap numbers at around 6 to 8 guests to keep tuition high, while private workshops allow one-to-one coaching. If you prefer company but still want personal feedback choose a small group; if you want a tailored route and timing, a private session is best. For budgeting, expect shared options to be more economical than private tours, and ask your operator about single-room supplements if you prefer private accommodation.
How physically demanding is a typical itinerary and what fitness level do I need?
Most days involve moderate walking and short hikes, such as the 45 minute route to the Old Man of Storr viewpoint and the uphill sections at the Quiraing; sections of Rannoch Moor and coastal headlands can be boggy and uneven. Good footwear, basic hill fitness and the ability to carry camera kit for up to 2 hours are usually sufficient. If you have mobility concerns discuss options with your guide; many operators can adjust the itinerary to include more roadside compositions and shorter walks without sacrificing strong photographic opportunities.
Ready to plan your 9 day photography scotland tour?
If you are inspired and want a bespoke itinerary, private workshop or full logistics support for a nine-day landscape photography tour of Scotland, get in touch and we will tailor every detail: locations, timing, accommodation and tuition.
Request a bespoke itinerarySources
- Backcountry Journeys Isle of Skye Photo Tour – Example Glenfinnan and Skye-focused photo tour itineraries and timing
- VisitScotland Road to the Isles overview – Practical notes on the Road to the Isles, Neptune’s Staircase and ferry links
- The Travel Hack Loch Lomond drive time – Drive time estimates and first-day staging suggestions for Loch Lomond
- KS Nature Photography workshop pricing example – Published pricing example for a 10 days/9 nights Scotland photography offering
- Photoworld Tours Isle of Skye highlights – Skye locations such as the Quiraing, Old Man of Storr and Fairy Pools as photographic highlights
Final Thoughts
A 9 day photography scotland journey will leave you with a portfolio of powerful images, new technical skills and an intimate familiarity with Scotland’s dramatic landscapes. From misty loch reflections and peat-moored moors to the volcanic theatre of Skye and the Atlantic edge at Neist Point, the route balances wild locations with practical logistics so you can focus on making images rather than worrying about timing and parking. Whether you choose a small-group workshop or a private photography workshop tailored to your needs, planning around dawn and dusk, packing for changeable weather and booking the right accommodations will let you make the most of every light window. Scotland rewards patience and curiosity; return with prints, stories and a fresh eye for atmospheric landscape photography.